


Basic
Compress
Mount
Advanced


1. Using mount window
Click "Mount" tab on WinMount main window, click "Mount file" on the toolbar, select an ISO file.
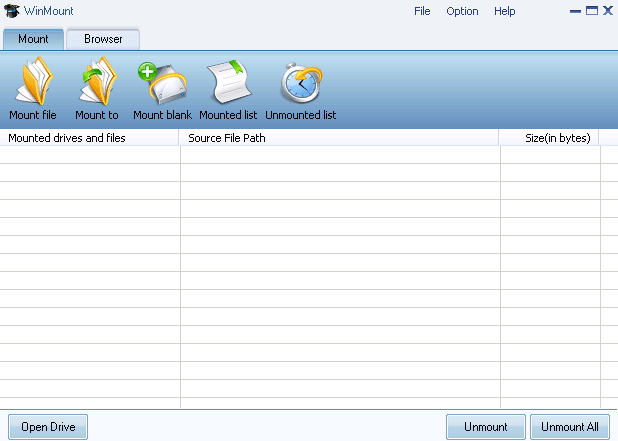

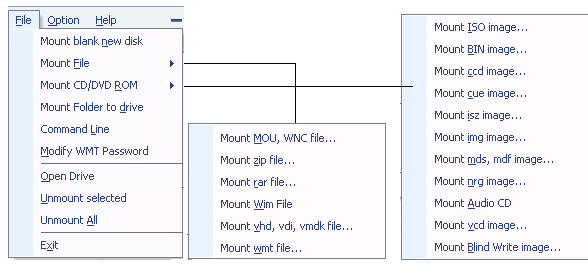
Or Click "File -> Mount CD/DVD ROM-> Mount ISO image" on mount window, select an ISO file.
Or right-click on mount window, select "Mount CD/DVD ROM->Mount ISO image", select an ISO file.

2. Drag ISO file to mount window directly
3. Using right-click menu
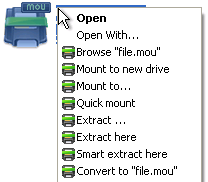
Right-click an ISO file, select "Mount to new drive" ( Following picture takes mou for example )

4. Using file association
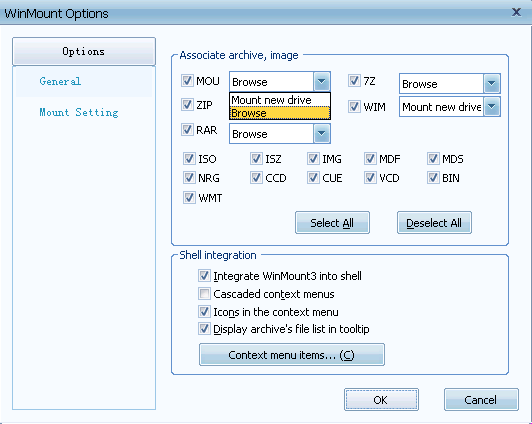
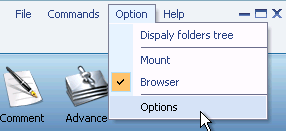
1) Click "Option -> Options" on WinMount main menu;
2) Pop-up "WinMount options" dialog, click "General" tab, tick"ISO". Double-click ISO file and mount directly.